

Big Data & Cloud Computing (CC4093)
Eduardo R. B. Marques, DCC/FCUP
Using your web browser (Chrome tends to work better with GCP), open the GCP console at https://console.cloud.google.com
If the GCP console user interface is not already in English, it is recommended that you change it, given that lab tutorials use English designations for GCP service names, resource types, parameters, etc.
This will not affect the language settings of any other Google services.

|

|
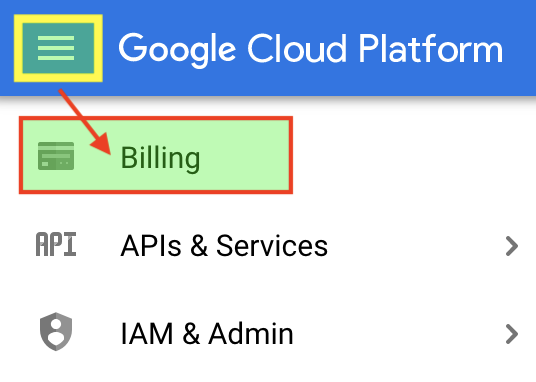
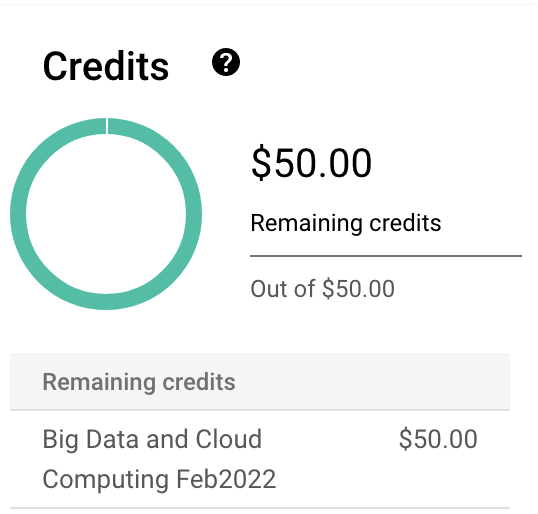
Access Billing to see the status of your billing account(s).
|
|
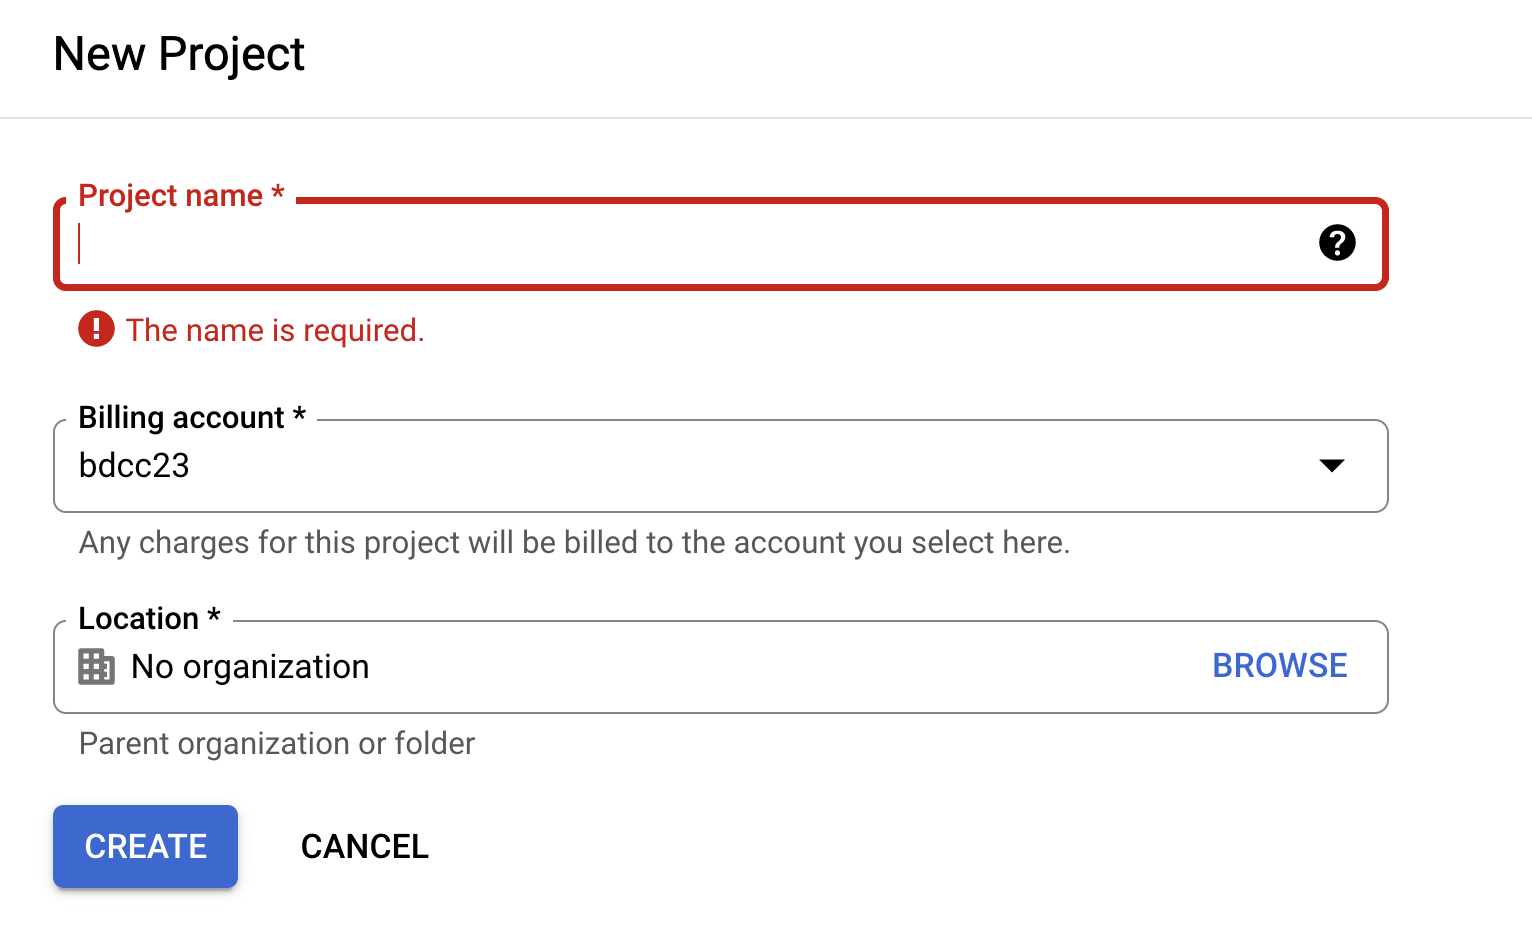
Cloud resources that you create must be associated to a project. In turn, a project must be associated to a single billing account.
A project is usually created automatically, the first time you access GCP. The active project is always highlighted in the GCP console (top bar). You may create new projects, as illustrated below.


Experiment with the Google Cloud Shell.
Cloud Shell can be activated in the UI as shown below or this launch link


Step 1. Click Open Editor and use the online editor to create a simple Python program name hello.py containing
Step 2. Switch back to the shell, clicking on Open Terminal and run the Python program by typing in the shell
python3 hello.py
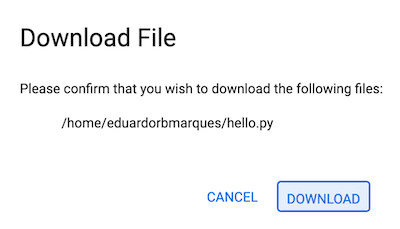
Step 3. Download the hello.py file to your PC
cloudshell download
Illustration:
Step 1
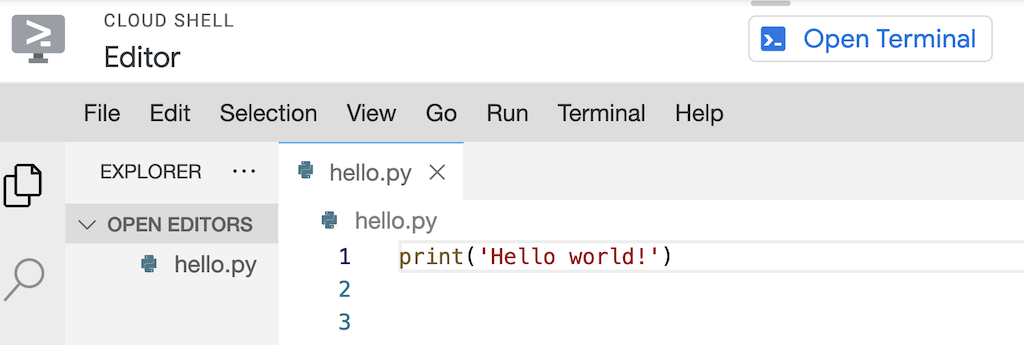
Steps 2 and 3

Step 3 (cont.)
The initial Cloud Shell image already contains lots of useful software, e.g. runtime systems/compilers for Python and other programming languages. You may need to install additional software at some point, though. This can be done for example using pip for Python modules or apt for Linux packages.
Let’s say that you wish to install the popular pandas Python library. You may simply execute
pip3 install pandas
You can run a web application that listens to HTTP requests on Cloud Shell. This should be useful later in the semester.
For example, you can start a simple HTTP server listening on port 8080 as follows:
python3 -m http.server 8080 Then access Web preview to interact with the HTTP server.

